Fruit Farming For Beginners

Starting your journey into fruit farming for beginners doesn't have to feel overwhelming. This guide is designed for new gardeners, homeowners with yard space, and anyone dreaming of growing their own fresh fruit.
Growing fruit trees successfully comes down to making smart choices from day one and staying consistent with your care routine. You'll learn how to start a fruit orchard that actually produces abundant harvests year after year.
We'll walk you through selecting the best fruit varieties for your specific growing conditions and designing an fruit orchard layout design that maximizes your space and sunlight. You'll also discover the essential care practices that keep your trees healthy and productive, plus the best methods for harvesting and storing your homegrown fruit so nothing goes to waste.
By the end of this beginner fruit growing guide, you'll have the confidence to plant your first trees and the knowledge to care for them through every season.
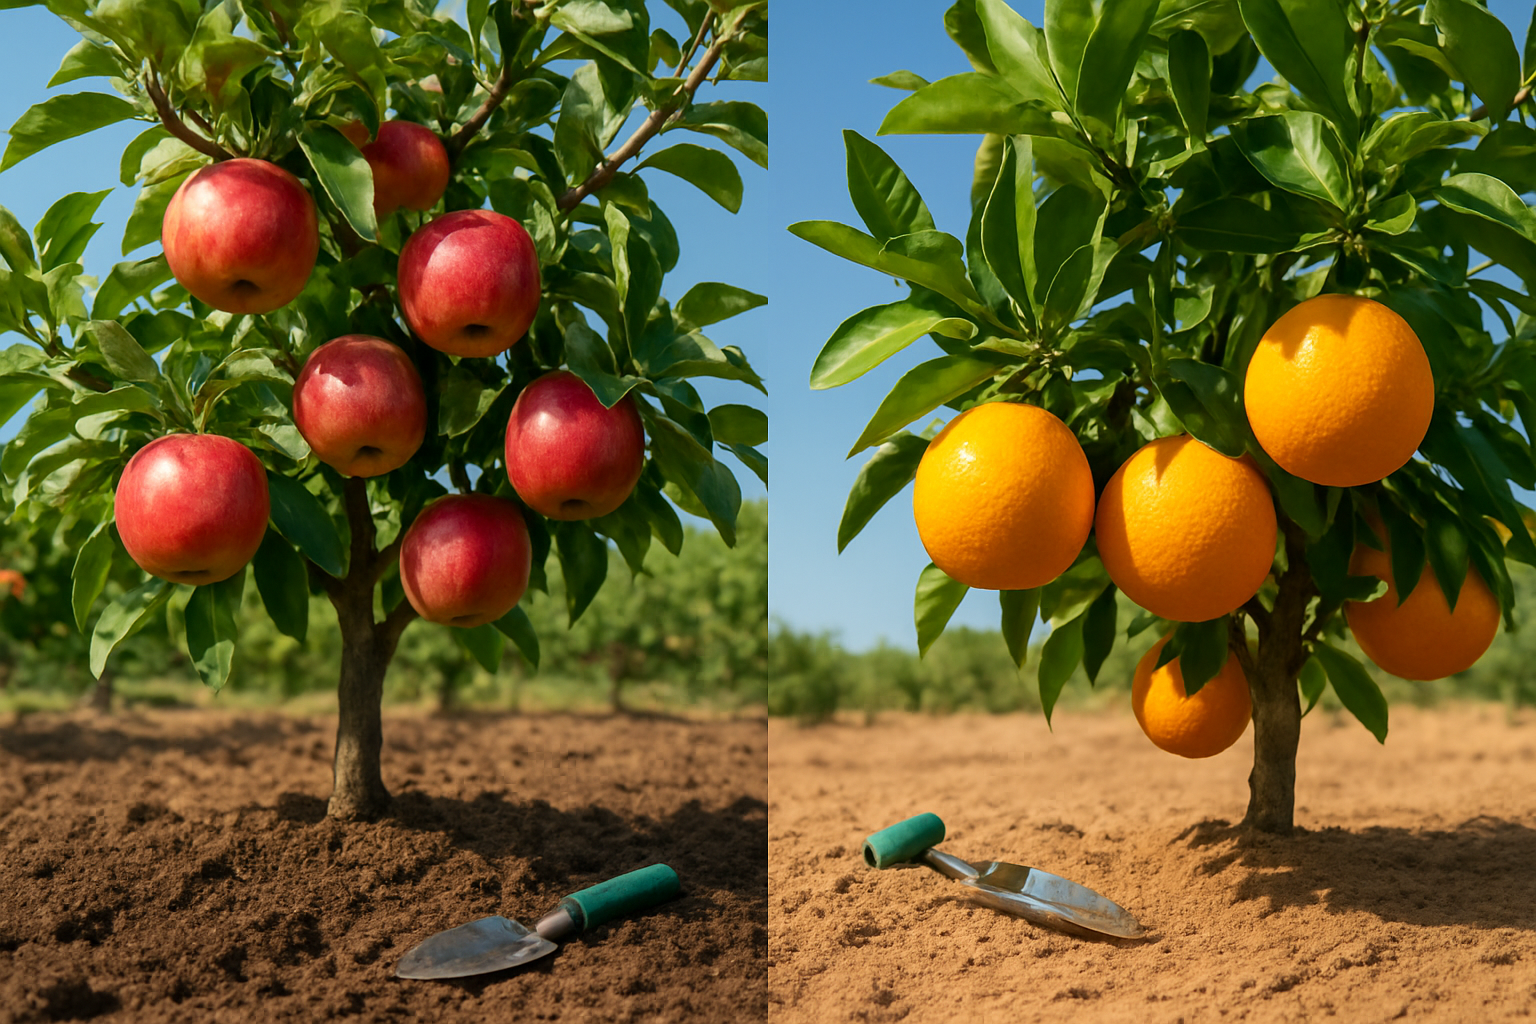
Choose the Right Fruits for Your Climate and Soil
Research Your Local Growing Zone Requirements
Understanding your growing zone is the foundation of successful fruit farming for beginners. Your local climate determines which fruits will thrive naturally in your area and which ones will struggle despite your best efforts. Growing zones, also known as hardiness zones, are based on average minimum winter temperatures and help predict which plants can survive in specific regions.
Start by identifying your USDA Hardiness Zone or equivalent system for your country. Most fruit trees have specific zone requirements - for example, citrus fruits need zones 9-11, while apples can handle zones 3-9 depending on the variety. Stone fruits like peaches and plums typically prefer zones 5-9, while cold-hardy fruits such as cherries can often survive in zones 4-7.
Don't forget about chill hours - the number of hours below 45°F that many fruit trees need during winter to produce properly. Apples might need 500-1,000 chill hours, while some peach varieties require only 150-400 hours. Without adequate chill hours, trees may bloom poorly or produce little fruit.
Research local extension office resources, talk to nearby fruit growers, and check which varieties local nurseries carry. These sources often know which cultivars perform best in your specific microclimate conditions.
Test Your Soil pH and Nutrient Levels
Soil testing is your roadmap to healthy fruit trees and productive harvests. Most fruits prefer slightly acidic to neutral soil with a pH between 6.0-7.0, though some have specific preferences. Blueberries thrive in acidic soil (pH 4.5-5.5), while stone fruits prefer slightly alkaline conditions (pH 6.5-7.5).
Purchase a reliable soil test kit or contact your local extension office for professional testing. Basic tests measure pH, nitrogen, phosphorus, potassium, and organic matter content. More comprehensive tests include micronutrients like iron, zinc, and manganese, which are crucial for healthy fruit development.
Poor drainage kills more fruit trees than almost any other factor. Test your soil's drainage by digging a hole 18 inches deep and filling it with water. If water remains after 24 hours, you likely have drainage issues that need addressing before planting.
| Soil Factor | Ideal Range | Impact on Fruit Trees |
|---|---|---|
| pH Level | 6.0-7.0 | Affects nutrient availability |
| Organic Matter | 3-5% | Improves water retention and nutrients |
| Drainage | Well-draining | Prevents root rot and disease |
| Phosphorus | 30-50 ppm | Essential for root development |
Select Disease-Resistant Varieties for Beginners
Choosing disease-resistant varieties dramatically reduces the learning curve for new fruit growers. These cultivars have been bred to naturally resist common diseases, reducing the need for chemical treatments and increasing your chances of success.
For apples, look for varieties resistant to fire blight, apple scab, and cedar apple rust. 'Liberty,' 'Enterprise,' and 'Freedom' are excellent disease-resistant choices that also taste great. For stone fruits, consider 'Redhaven' peaches or 'Stanley' plums, both known for their resilience.
Modern breeding programs have created fruit varieties that maintain excellent flavor while offering natural protection against diseases. Disease-resistant doesn't mean maintenance-free, but it does mean more forgiving growing conditions for beginners learning proper fruit tree care.
Research which diseases are most common in your area and select varieties bred specifically to resist those problems. Local master gardeners and extension agents can provide valuable insights about regional disease pressures and which varieties perform best in your specific location.
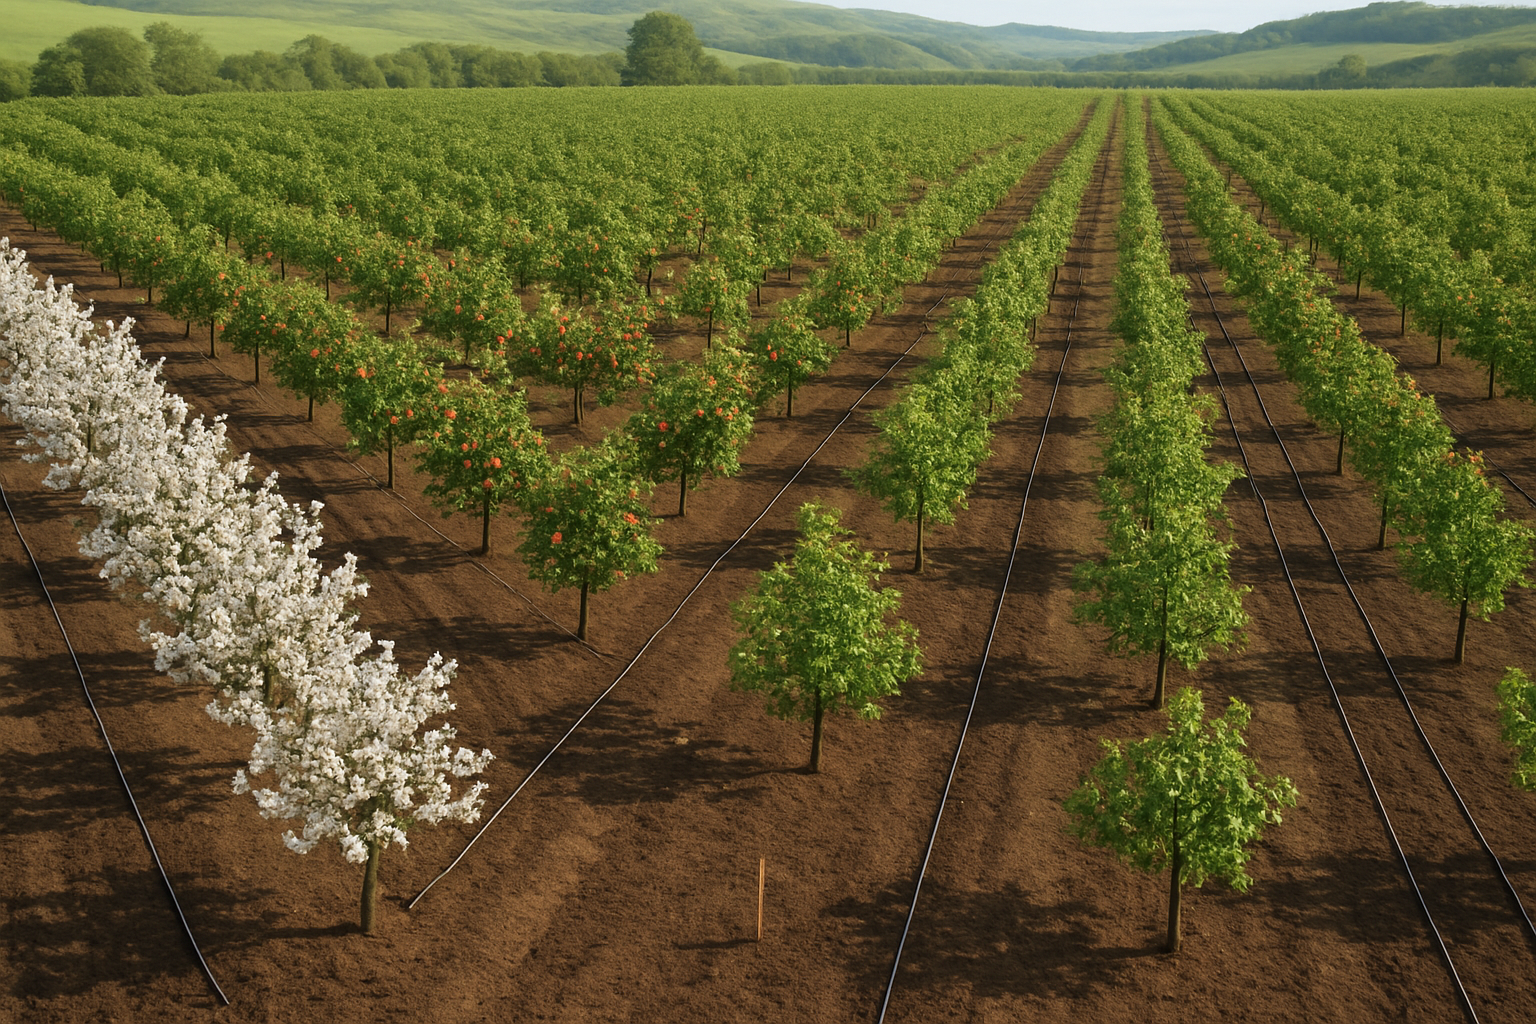
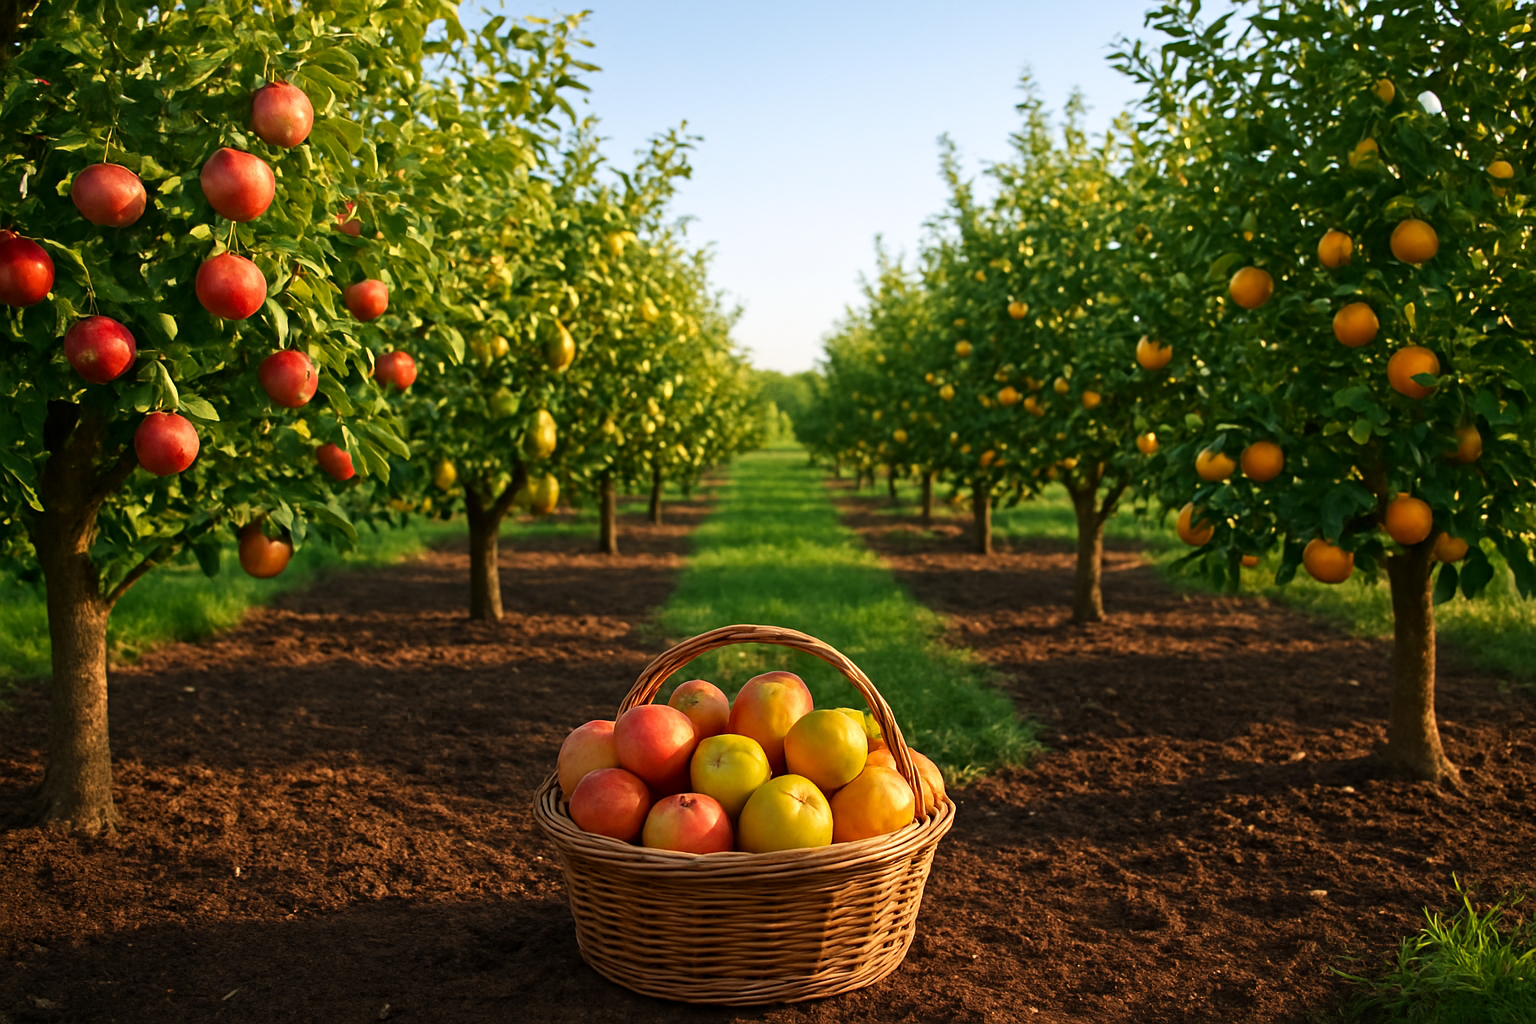
Consider Space Requirements and Tree Spacing
Proper spacing ensures each tree receives adequate sunlight, air circulation, and nutrients while making maintenance tasks manageable for beginners. Different fruit types and rootstocks require varying amounts of space, so planning your orchard layout design carefully prevents overcrowding problems later.
Standard apple trees need 25-30 feet between trees, while dwarf varieties can be planted 8-10 feet apart. Semi-dwarf trees fall somewhere in the middle at 15-20 feet spacing. Stone fruits generally require 15-25 feet between trees, depending on their mature size.
Consider these spacing guidelines:
-
Dwarf fruit trees: 6-10 feet apart, perfect for small scale fruit production
-
Semi-dwarf varieties: 12-20 feet apart, good balance of size and yield
-
Standard trees: 20-30 feet apart, maximum production but require more space
-
Columnar varieties: 4-6 feet apart, ideal for backyard fruit farming
Think about mature tree height and spread when planning. Trees planted too close together compete for resources, have poor air circulation leading to disease problems, and become difficult to harvest and maintain. Adequate spacing also allows for proper equipment access and makes pest management much easier.
Plan pathways between rows for easy access during pruning, harvesting, and general maintenance. A well-designed layout makes fruit farming much more enjoyable and productive in the long run.
Plan Your Orchard Layout for Maximum Productivity
Design Efficient Irrigation and Drainage Systems
Water management forms the backbone of successful fruit orchard layout design. Your irrigation system should deliver consistent moisture while preventing waterlogged roots that kill fruit trees. Start by mapping your property's natural water flow and identifying low spots where water collects after rain.
Drip irrigation works best for most backyard fruit farming operations. Install main water lines along your planned tree rows, with individual emitters for each tree. This targeted approach reduces water waste and keeps foliage dry, preventing many fungal diseases. Space emitters 18-24 inches from each tree trunk to encourage proper root development.
For drainage, create gentle slopes away from planting areas if your soil tends to retain water. French drains filled with gravel can redirect excess moisture from problem spots. Sandy soils drain naturally but may need more frequent watering, while clay soils require raised beds or soil amendments to prevent standing water.
Consider seasonal water needs when designing your system. Young fruit trees need frequent, shallow watering, while mature trees prefer deep, less frequent irrigation. Installing zone controls lets you adjust watering schedules as your orchard matures.
Position Trees for Optimal Sunlight Exposure
Sunlight drives fruit production, making proper tree positioning critical for your fruit tree planting success. Most fruit trees need 6-8 hours of direct sunlight daily to produce quality fruit. Study your property throughout different seasons to identify areas with consistent sun exposure.
Plant taller varieties like apples and pears on the north side of your orchard to prevent shading shorter trees. Dwarf varieties work well in front, while semi-dwarf and standard trees belong in back. This stepped arrangement maximizes light penetration across your entire planting area.
Consider your region's sun patterns when planning tree orientation. East-west rows typically work best, allowing morning sun to dry dew quickly while providing afternoon protection in very hot climates. North-south rows work better in cooler regions where maximum sun exposure benefits fruit development.
Account for existing structures, fences, and neighboring buildings that cast shadows. Trees planted too close to these obstacles often produce poor fruit quality and become more susceptible to diseases due to reduced air circulation.
Create Accessible Pathways for Maintenance and Harvesting
Smart pathway design transforms routine orchard maintenance from a chore into an efficient operation. Plan 8-10 foot wide main pathways for equipment access, with 4-6 foot secondary paths between tree rows for comfortable walking and ladder placement during harvesting.
Your pathway layout should connect all areas of your small scale fruit production operation. Create a logical flow from storage areas to different tree sections, considering how you'll move tools, supplies, and harvested fruit. Gravel or wood chip pathways stay usable in wet weather and suppress weeds naturally.
Position pathways to accommodate future growth. Young fruit trees look small, but mature trees spread significantly. Leave enough space for pruning equipment, spray applications, and comfortable harvesting access around each tree's expected mature canopy.
Include wider staging areas near groups of trees for placing harvest containers and tools. These spaces become essential during busy harvest periods when you need quick access to multiple trees. Consider installing simple benches or tool storage in these areas to reduce back-and-forth trips to your main storage building.
Emergency vehicle access matters too, especially for rural properties. Ensure at least one pathway can accommodate a small truck or ATV for hauling heavy loads of fruit or bringing in soil amendments and mulch materials.
Master Essential Planting Techniques
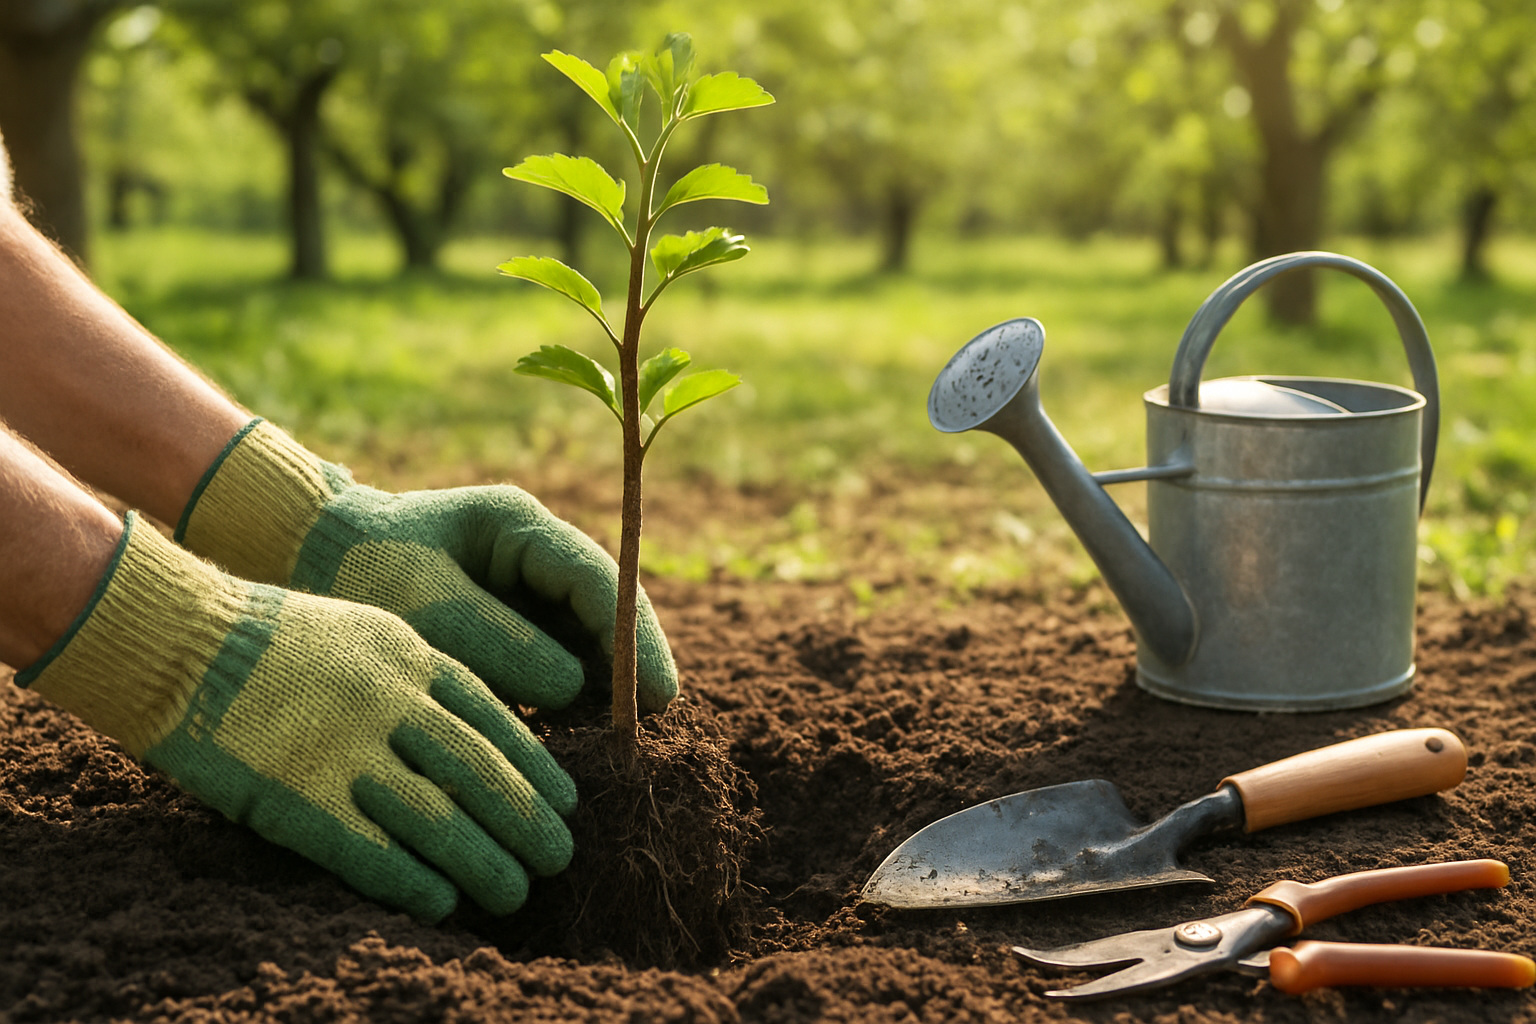
Prepare Planting Holes with Proper Depth and Width
Creating the right foundation for your fruit trees starts with digging proper planting holes. The hole should be twice as wide as the root ball but only as deep as the root system itself. Many beginners make the mistake of digging too deep, which can cause water to pool around the roots and lead to rot.
For most fruit tree planting tips, the hole width matters more than depth. A wider hole allows roots to spread easily into the surrounding soil, establishing a stronger anchor system. The sides of the hole should be rough, not smooth - use a shovel to score the walls if your soil is compacted. This prevents roots from circling within the hole.
Test your soil drainage by filling the hole with water and checking how quickly it drains. If water sits for more than a few hours, you may need to amend the soil or create raised planting areas.
Time Your Planting for Seasonal Success
Timing can make or break your fruit farming for beginners success. The best planting window depends on your climate zone and the type of fruit trees you're growing.
In temperate climates, late fall through early spring offers ideal conditions when trees are dormant. This timing allows roots to establish before the stress of summer heat arrives. Avoid planting during the hottest summer months or when the ground is frozen.
For container-grown trees, you have more flexibility since their root systems are less disturbed during transplanting. Still, cooler months reduce transplant shock and give your trees the best start.
Check your local frost dates before planting. You want enough time for root establishment before winter, but not so early that new growth gets damaged by unexpected late frosts.
Establish Strong Root Systems from Day One
The first few weeks after planting determine your tree's long-term health and productivity. Remove any circled or damaged roots before planting, making clean cuts with sharp pruning shears. This encourages new, healthy root growth into the surrounding soil.
Position the tree so the root flare (where roots meet the trunk) sits slightly above ground level. As soil settles, this will bring the tree to the proper depth. Planting too deep suffocates roots and weakens the tree's foundation.
Water deeply right after planting, then maintain consistent moisture without overwatering. The soil should feel like a wrung-out sponge. Create a shallow basin around the tree to help direct water to the root zone, but don't let water pool against the trunk.
Apply Mulching for Moisture Retention and Weed Control
Mulching ranks among the most important backyard fruit farming practices you can master. A 3-4 inch layer of organic mulch around your newly planted trees serves multiple purposes: retaining soil moisture, suppressing weeds, and gradually improving soil quality as it decomposes.
Keep mulch 6 inches away from the trunk to prevent pest problems and bark diseases. Wood chips, shredded leaves, or straw work well for fruit trees. Avoid using mulch that's too fine, as it can create a barrier that repels water.
Refresh your mulch annually, adding new material as the old layer breaks down. During hot summer months, good mulching can reduce watering needs by up to 50%, making your small scale fruit production more sustainable and manageable.
Develop a Year-Round Care Schedule
Create Monthly Pruning and Training Plans
Success in fruit farming for beginners starts with understanding that each month brings different pruning needs. During dormant winter months (December through February), focus on structural pruning by removing dead, diseased, or crossing branches. This is when your trees can handle major cuts without stress.
Spring pruning (March-April) should target water sprouts and suckers while shaping young trees. Summer months require light maintenance pruning, removing only overcrowded branches that block sunlight from reaching fruit. Fall pruning should be minimal - just remove broken branches from harvest activities.
Training young trees requires weekly attention during growing season. Use stakes, ties, and spreaders to guide branch angles between 45-60 degrees from the trunk. Check these supports monthly and adjust as trees grow to prevent girdling.
Establish Consistent Watering Routines
Your fruit tree care schedule must include deep, infrequent watering rather than frequent shallow watering. Most fruit trees need 1-2 inches of water per week, delivered slowly to penetrate the root zone.
Install drip irrigation or soaker hoses for efficiency. Water early morning to reduce evaporation and prevent fungal diseases. During fruit development, maintain consistent moisture to prevent fruit splitting or dropping.
Monitor soil moisture with a simple probe or your finger - soil should be moist but not waterlogged at 6-inch depth. Adjust watering based on rainfall, temperature, and tree age.
Schedule Fertilization Based on Growth Stages
Young trees need nitrogen-rich fertilizer in early spring to promote leaf and branch growth. Apply balanced fertilizer (10-10-10) around the drip line in March, avoiding direct contact with the trunk.
Mature fruit trees require different nutrition timing. Apply nitrogen in early spring, phosphorus during flower bud formation, and potassium before fruit ripening. Organic options like compost and aged manure provide slow-release nutrients throughout the season.
Stop nitrogen feeding 6-8 weeks before expected first frost to allow trees to harden off properly for winter.
Monitor for Common Pests and Diseases
Regular inspection prevents small problems from becoming orchard disasters. Walk through your trees weekly during growing season, checking leaves, bark, and developing fruit for signs of trouble.
Common spring pests include aphids, scale insects, and emerging borers. Summer brings fruit flies, codling moths, and spider mites. Fall monitoring focuses on preparing trees for winter pest management.
Learn to identify beneficial insects like ladybugs and lacewings - they're your natural pest control allies. Keep a simple spray schedule using horticultural oils and organic treatments when pest populations exceed threshold levels.
Plan Seasonal Protection Strategies
Weather protection strategies change with seasons and must be planned ahead. Spring frost protection might require covering young trees or using wind machines during critical bloom periods.
Summer protection focuses on preventing sun scald with tree wraps and providing adequate water during heat waves. Install bird netting before fruit ripens to protect your harvest investment.
Winter preparation includes wrapping trunks of young trees, applying dormant oil sprays, and ensuring good air circulation around trees to prevent disease. Remove fallen leaves and fruit to break pest and disease cycles.
Consider your specific climate challenges and prepare materials in advance. Having frost blankets, tree wraps, and netting ready saves crucial response time when weather threatens your crop.
Harvest and Store Your Fruits for Best Results
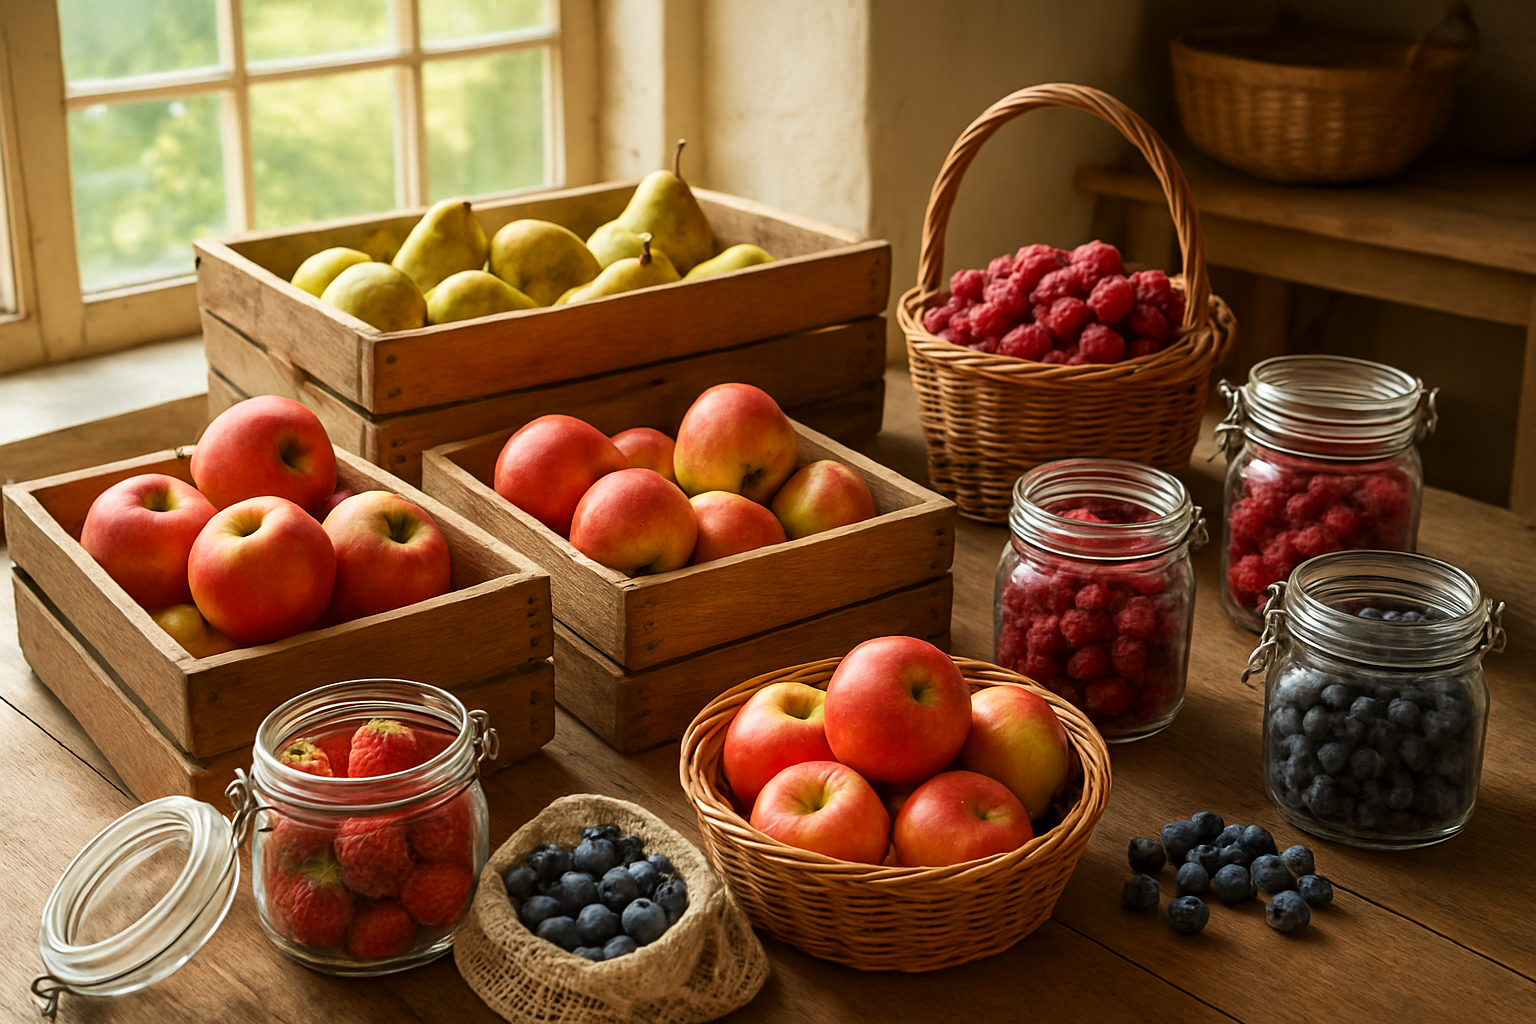
Identify Peak Ripeness Indicators for Each Variety
Knowing exactly when your fruit reaches peak ripeness makes the difference between a disappointing harvest and a truly rewarding one. Each fruit variety has unique signals that tell you it's ready to pick.
For apples, check the background color of the skin – it should change from green to cream or yellow, even on red varieties. The fruit should separate easily from the branch with a gentle twist and lift motion. Pears require a different approach since they ripen best off the tree. Harvest when the fruit gives slightly to pressure near the stem and shows a subtle color change.
Stone fruits like peaches and plums signal readiness through their fragrance – ripe fruit smells sweet at the stem end. The flesh should yield gently to pressure, and the fruit should lift away from the branch without resistance. Citrus fruits stay on trees for months after ripening, so taste-testing works best. The skin becomes slightly soft, and juice content peaks when the fruit feels heavy for its size.
Berries show ripeness through deep, uniform color and easy separation from stems. Strawberries should be fully red with no white shoulders, while blueberries develop a slight bloom and detach effortlessly when ripe.
Use Proper Harvesting Techniques to Prevent Damage
The way you harvest fruit directly affects its storage life and quality. Rough handling during picking creates bruises that lead to rapid spoilage and attract pests during storage.
Always harvest during cool parts of the day, preferably early morning when temperatures are lower and fruit contains maximum moisture. Bring shallow containers to prevent fruit from crushing under its own weight. Wicker baskets lined with soft cloth work perfectly for most fruits.
For tree fruits, use the twist-and-lift technique rather than pulling straight down. This method protects both the fruit and the branch's fruiting spurs for next year's crop. Keep your fingernails short to avoid puncturing delicate skin.
Handle each piece of fruit like an egg – even small impacts cause internal bruising that reduces storage life. Place fruit gently in containers rather than dropping it. Never fill containers so full that fruit on the bottom gets compressed.
Sort fruit immediately after picking. Separate damaged pieces from perfect ones since even small wounds accelerate ripening in nearby fruit through ethylene gas production. Clean your harvesting tools between different varieties to prevent disease transmission.
Implement Post-Harvest Storage Solutions
Proper fruit storage techniques extend your harvest enjoyment for months. Temperature and humidity control form the foundation of successful fruit storage for beginners venturing into backyard fruit farming.
Most fruits store best in cool, humid conditions around 32-35°F with 85-90% humidity. Create these conditions using your refrigerator's crisper drawers or a cool basement with added moisture sources. Wrap individual fruits in newspaper or store them in perforated plastic bags to maintain humidity while allowing gas exchange.
Different fruits require specific storage approaches:
Short-term Storage (1-4 weeks):
-
Berries: Refrigerate unwashed in shallow containers lined with paper towels
-
Stone fruits: Ripen at room temperature, then refrigerate when soft
-
Citrus: Store at room temperature or refrigerate for longer life
Long-term Storage (2-6 months):
-
Apples: Wrap individually and store in cool, humid basement or root cellar
-
Pears: Ripen at room temperature after cold storage period
Never store fruits and vegetables together since many vegetables release ethylene gas that accelerates fruit ripening. Check stored fruit weekly and remove any showing signs of decay to protect the rest of your harvest.
Consider processing excess fruit into jams, dried fruit, or frozen preparations when fresh storage space runs out. These preservation methods let you enjoy your homegrown fruit year-round while you develop your small scale fruit production skills.
Starting your own fruit farm doesn't have to feel overwhelming when you break it down into manageable steps. Picking fruits that actually thrive in your area, designing a smart layout, and nailing the basics of planting will set you up for success from day one. The real magic happens when you stick to a consistent care routine throughout the seasons and learn the best ways to harvest and store your bounty.
Your fruit farming journey is about to begin, and every expert started exactly where you are now. Take it one season at a time, don't be afraid to make mistakes, and remember that your trees will reward your patience with years of delicious harvests. Start small, learn as you go, and watch your little orchard grow into something you'll be proud to call your own.


Comments
Post a Comment